
Golf forks and ball markers are two seemingly insignificant but actually very important tools in golf, playing a crucial role in maintaining the course environment, improving shot accuracy, and ensuring fairness in the game. Their production process is intricate and complex, encompassing multiple stages from raw materials to finished product polishing. Below, we’ll take a step-by-step look at how these accessories are created.
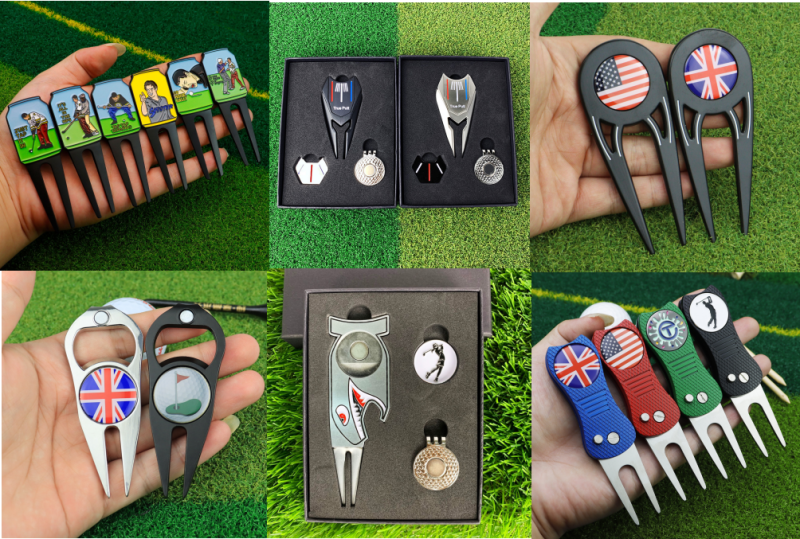
Step 1: Material Selection and Design
The production process begins with material selection. Common materials include stainless steel, zinc alloy, copper, or titanium. Stainless steel is widely used due to its corrosion resistance and strength, while zinc alloy is suitable for die casting and is less expensive. During the design phase, engineers and designers collaborate to create 3D models on a computer, determining the size, thickness, and surface pattern of the ball mark. Forks require designing suitable fork angles and grip curvature to ensure comfortable use and stable ball support.
Step 2: Mold Manufacturing
After model confirmation, the mold manufacturing stage begins. For metal parts, precision casting or die casting processes are typically used. The mold is made of high-strength steel and has the shape of the ball mark or fork engraved inside. If a stamping process is used, a punch and die are required. The precision of the mold directly affects the quality of the finished product; therefore, this step requires CNC machine tools or EDM to complete, with errors controlled at the micron level.
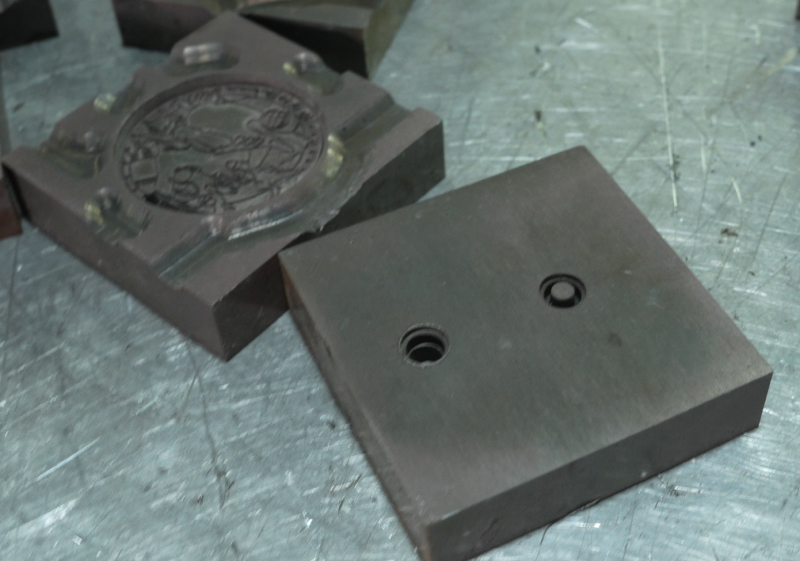
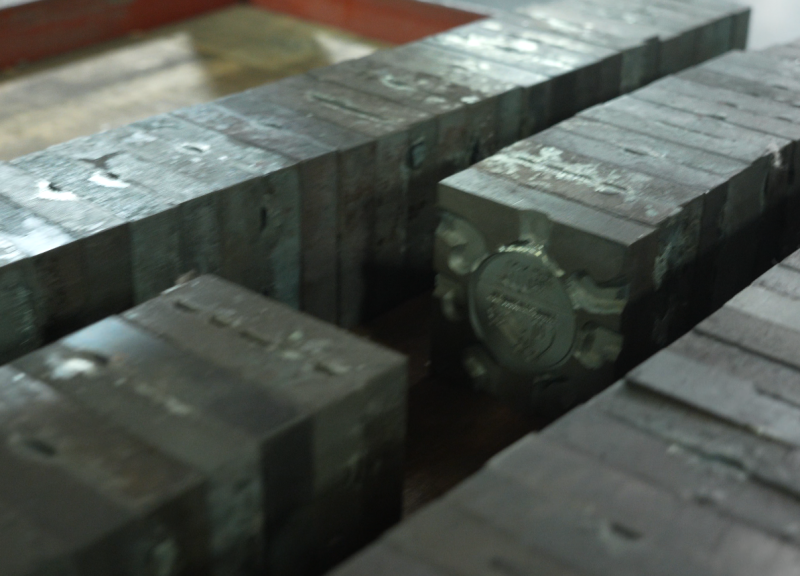
Step 3: Forming Process
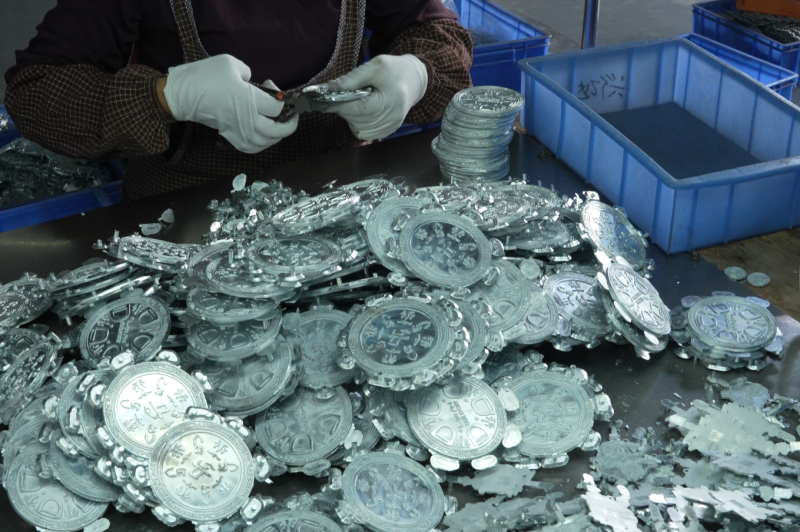
The forming method varies depending on the material and design. Stainless steel ball bearings are mostly produced using stamping or wire cutting. During stamping, the metal sheet is cut into the outline in one go by the mold, resulting in smooth edges. Zinc alloy ball bearings are produced through die casting, where molten metal is injected into the mold cavity, cooled, and then the blank is removed. Ball forks are often produced using forging or bending processes, where a metal strip is heated, placed in a mold, forged, and then bent to create the fork tooth arc. The formed blank will have burrs or flash, requiring further processing.
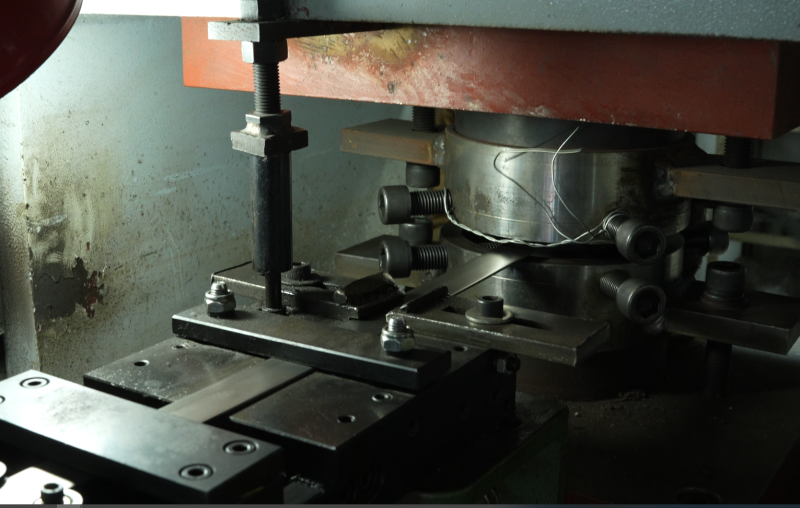
Step 4: Grinding and Polishing
The blanks enter the grinding workshop. Workers use belt sanders or vibratory grinders to remove surface burrs and oxide layers. The back of the ball bearings and forks usually needs to be ground smooth to ensure stability when placed. Polishing uses cloth wheels and polishing compound to achieve a mirror finish or matte texture. For complex patterns, manual finishing with fine sandpaper is also required. This step requires meticulous attention, as any scratch will affect the final appearance.
Step 5: Surface Treatment
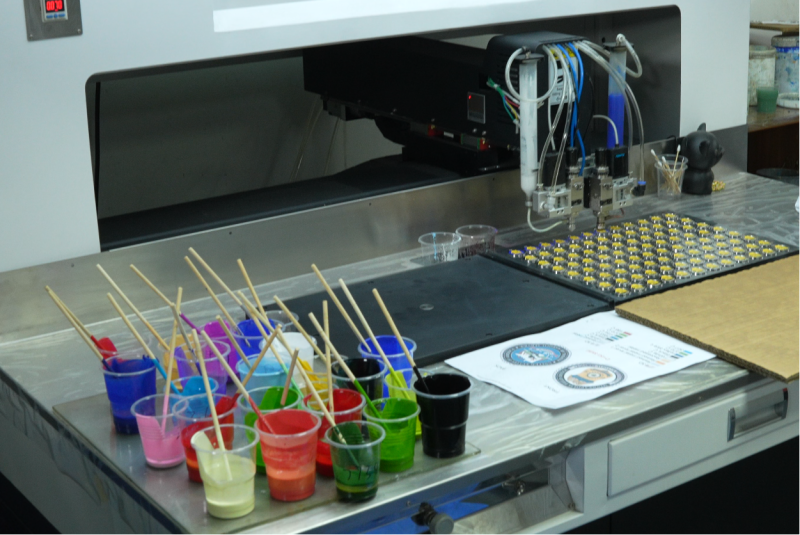
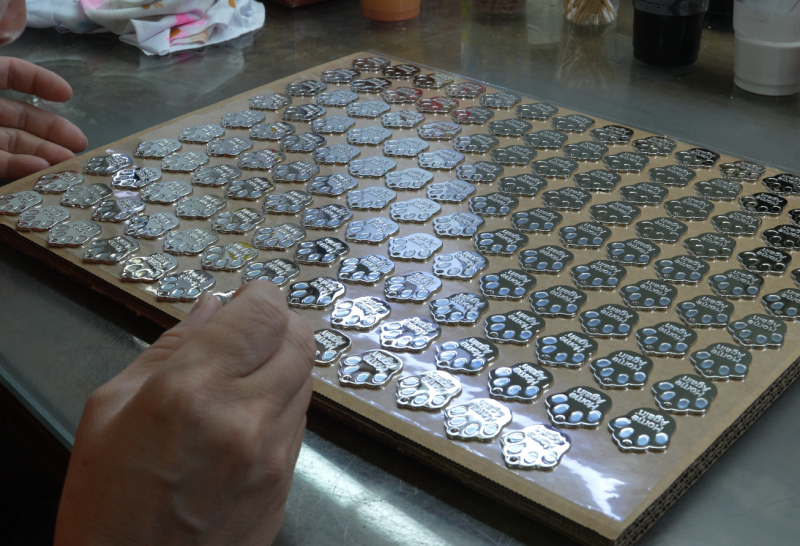
The sanded parts undergo surface treatment. Common processes include electroplating, painting, or brushing. Electroplating can apply nickel, chromium, or gold to enhance shine and rust resistance. Painting achieves colored or antique effects, but requires a primer before drying. Brushing uses a wire brush to create a uniform texture on the surface, creating an industrial look. During the process, parts are fixed to hangers and immersed in electrolyte or paint. After completion, they are cleaned and the coating uniformity is checked.
Step 6: Assembly and Inspection
Some ball markers and forks require assembly. For example, the handle of a ball fork may be wrapped in rubber or wood and secured with glue or screws. The magnet or plastic base at the bottom of the ball marker also needs to be embedded. After assembly, the ball enters the inspection stage. Quality inspectors use calipers to measure dimensions, a magnifying glass to check for surface defects, and test the elasticity and clamping force of the ball fork. Defective products are marked and reworked or scrapped.
Step 7: Packaging and Shipping
Finally, qualified products are cleaned and dried, then individually packaged. Golf markers are typically packed in transparent resealable bags or small boxes, while golf forks may come with a lanyard or protective sleeve. A desiccant and instructions are placed inside the packaging to prevent moisture or scratches during transport. After random sampling inspection, the entire batch of products is then boxed and shipped to golf courses or retail stores.
Through these seven steps, an ordinary piece of metal is transformed into an exquisite accessory in the hands of golf enthusiasts. Each process embodies meticulous craftsmanship, ensuring the functionality and aesthetics of the golf markers and forks. The importance of golf marks and forks can be summarized in three points: First, they ensure fair play and prevent disputes caused by unclear ball markings or uneven greens; second, they maintain the course’s ecological environment, extend the lifespan of the greens, and reduce turf repair costs; and third, they reflect a player’s golf etiquette and manners, directly embodying the spirit of respect for others and care for the course in golf culture. Therefore, although golf forks and marks are small and inexpensive, they are indispensable tools in the sport of golf. Any player who takes golf seriously will carry these two items with them and use them after each time they step onto the green. This is not only taking responsibility for their own score but also showing respect for the entire course environment and all players.