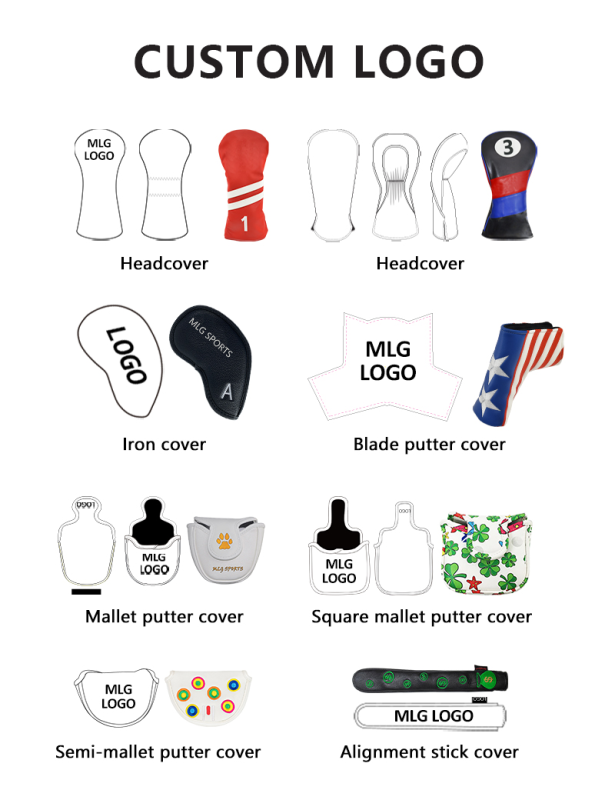
When you watch a professional golfer stride down the fairway, you might focus on the $500 driver or the silky smooth swing. But nestled in their bag, protecting that investment, is an unsung hero: the golf head cover. While often treated as an afterthought or a simple promotional giveaway, the modern golf head cover is a marvel of material science, precision stitching, and industrial engineering.
Whether it is a plush animal head for a driver or a sleek, knit sock for a hybrid, the journey from a roll of raw fabric to a snug-fitting protective sleeve is more complex than most golfers imagine. Today, we are taking a deep dive behind the stitching to explore the step-by-step production process of a premium golf head cover.
Step 1: Design, Pattern Making, and Digital Rendering
The process begins long before a machine is turned on. It starts on a computer screen. Designers use CAD (Computer-Aided Design) software to create the 3D model of the head cover. Unlike sewing a flat t-shirt, a head cover must fit a complex geometric shape—a bulbous driver head attached to a thin, cylindrical shaft.
Designers must account for “ease,” the extra space needed for the fabric to wrap around the 460cc club head. They create a “net shape” pattern, which is then broken down into 2D panels: the front panel, the back panel, the sock (the long neck that covers the shaft), and the internal padding layer.
Once the digital pattern is finalized, a plotter printer prints the pattern onto thick cardstock. This physical template is then test-fitted on an actual driver head to ensure zero friction points.
Step 2: Material Selection and Cutting
With the pattern approved, the factory selects the materials. Most modern head covers are not just one material; they are a sandwich of three:
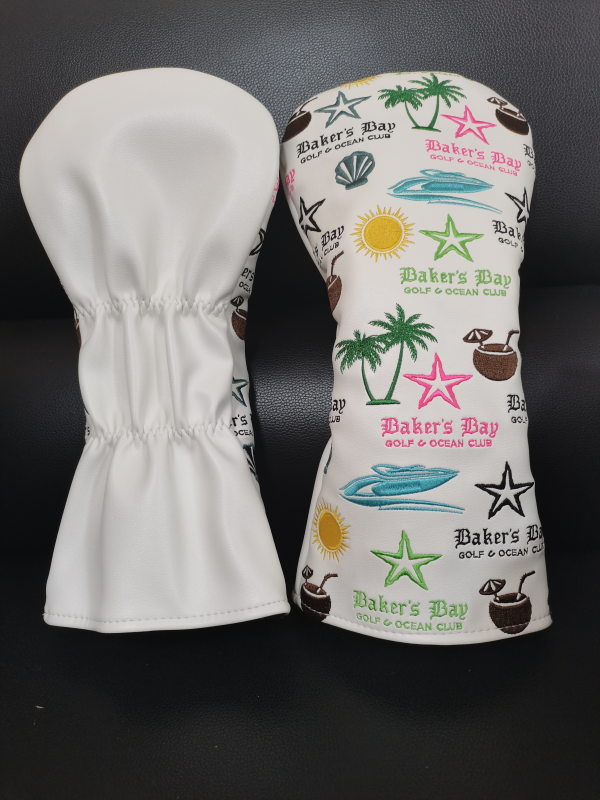
Outer Shell: Usually synthetic leather (PU), microfiber, or for “novelty” covers, plush fur or acrylic yarn.
Middle Layer: Shock-absorbing foam or thick felt padding to protect the club from bag clatter.
Inner Lining: Soft fleece, velvet, or knit cotton to prevent scratching the paint on the driver crown.
Mass production begins with the cutting department. High-volume manufacturers use a CNC oscillating cutting machine. This machine can stack 50 to 100 layers of fabric on a vacuum table. Using a high-frequency oscillating blade (or a laser for synthetic materials), the machine cuts all three layers simultaneously with micron-level precision. This ensures that every “left panel” is identical to every other “left panel.”
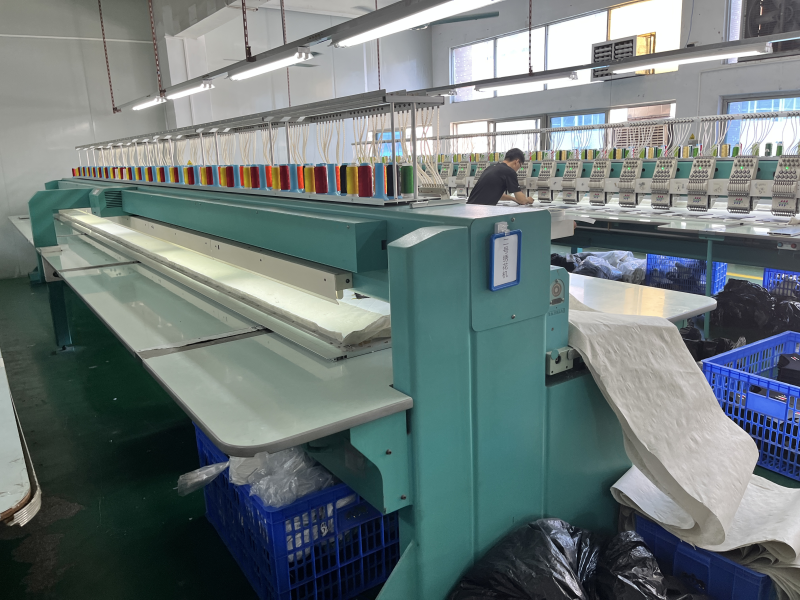
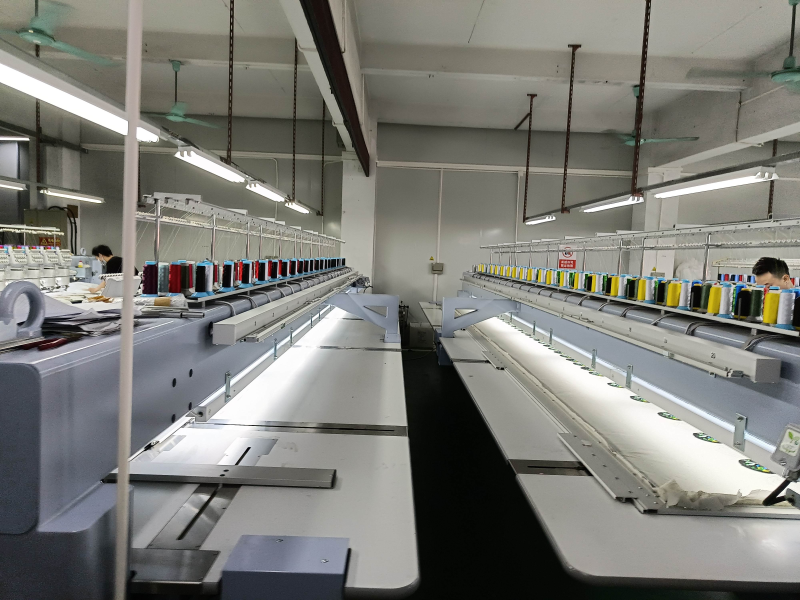
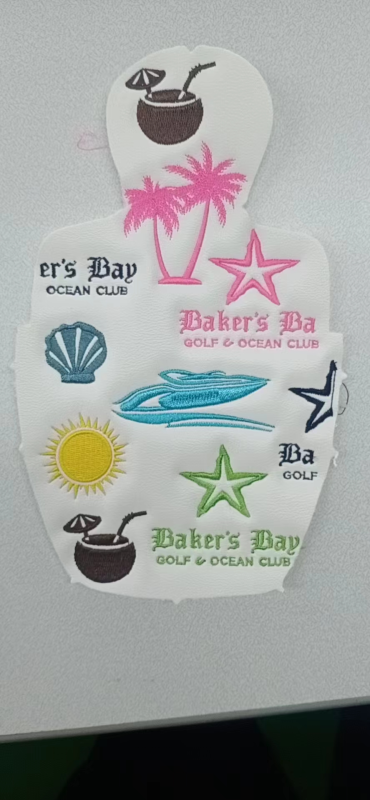
Step 3: Embroidery and Decoration
Before assembly, the raw panels head to the embroidery department. Adding a logo—whether a Titleist script, a Callaway chevron, or a custom company logo—is impossible after the cover is sewn closed.
Using multi-head embroidery machines (some with 15 heads running simultaneously), operators hoop the fabric tightly. The machine reads a digital file and fires needles at up to 1,000 stitches per minute. For high-end covers, this is where the magic happens: 3D puff embroidery (where foam is placed under the thread to create a raised logo) or chenille (a fuzzy, velvety texture). If the design includes a leather patch, those are die-cut and heat-pressed with foil logos separately.
Step 4: Padding Lamination (The “Sandwich”)
To ensure the padding doesn’t shift inside the cover over time, the three layers must be fused. Factories use a flame lamination or adhesive web process.
Flame Lamination: A foam sheet is passed over a gas flame, melting its surface instantly. It is then rolled together with the outer fabric and inner liner. As the foam cools, it bonds permanently to both sides.
Adhesive Web: A heat-activated glue web is placed between layers and run through a heated roller press.
This creates a single, flexible composite sheet that feels like a heavy-duty quilt. At this stage, the material is impossible to pull apart without tearing.
Step 5: Cutting the Final Shape (Die Cutting)
Now that the large sheet of laminated material is ready, it is time to cut the specific panel shapes again—but this time with steel tools. Using a hydraulic die press, operators place a razor-sharp steel rule die (shaped exactly like the pattern) over the laminated sheet. The press slams down with tons of force, punching out perfect panels with clean, sealed edges that won’t fray.
Step 6: The Sewing Line (The Human Touch)
Despite automation, the sewing of a 3D head cover remains a highly skilled human operation. This is the bottleneck of production. A standard driver cover requires at least four separate sewing stations:
Dart Sewing: The “sock” (long tube) is sewn first. Darts (triangular folds) are sewn into the top of the sock to create a 3D curve that matches the slope of the club head.
Panel Joining: The left and right panels are sewn to the sock using a flat seam or overlock stitch. Operators must stretch the fabric slightly as they sew to prevent puckering.
Reinforcement: A “stress point” patch (usually a leather diamond) is sewn over the top center where the club pushes out the hardest.
Hemming: The bottom opening is rolled and double-stitched to prevent fraying when the golfer pulls the cover on and off thousands of times.
Step 7: Turning and Padding
At this point, the cover is sewn inside out. An operator takes the cover to a turning table (a pneumatic rod that blows a puff of air to help invert the fabric). They flip the cover right-side out using a blunt plastic rod. This is a delicate moment; using a sharp tool would cut the internal foam.
Once turned, the cover looks lumpy. The operator inserts a magnetic closure system (sewn into a hidden pocket) or a Velcro tab into the neck of the sock. If the design is a knit sock (like for a fairway wood), an elastic band is sewn into the hem to keep it tight against the shaft.
Step 8: Quality Control (QC) and Inspection

Every premium cover goes through a rigorous inspection station. Under bright LED lights, QC inspectors check for:
Loose threads: Every thread tail is snipped with micro scissors.
Stitch count consistency: If the stitches per inch vary, the cover is rejected.
Logo alignment: Is the logo centered on the crown?
Fit test: A random sample (usually 5% of the batch) is fitted onto a standard 460cc driver. If it is too tight (hard to remove) or too loose (falls off), the entire batch is sent back to pattern adjustment.
Step 9: Finishing and Packaging
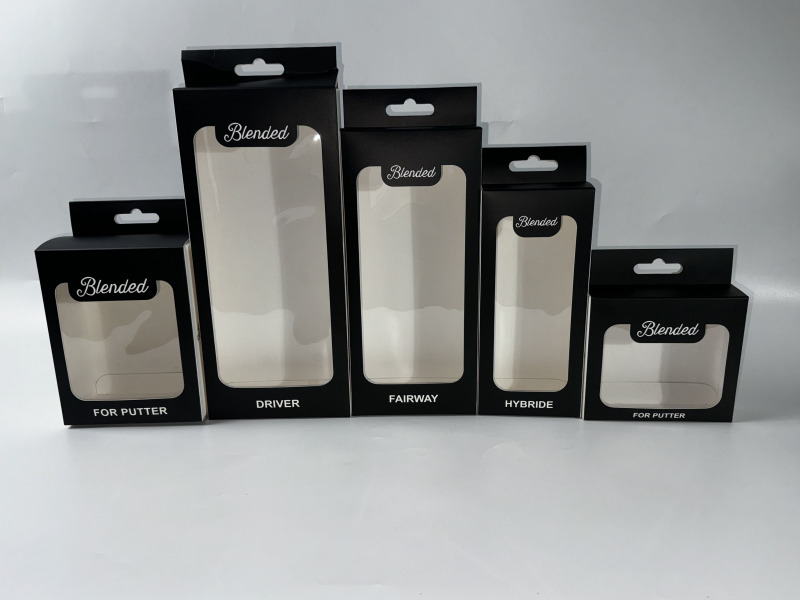
The final step is cosmetic. Leather covers are sprayed with a matte or gloss acrylic finisher to protect against UV rays and moisture. Knit covers go through a “tumbling” process to soften the fibers.
The covers are then stuffed with acid-free tissue paper to maintain their shape during shipping. They are bagged individually to prevent dust, placed in retail boxes, and shipped to pro shops worldwide.
The Environmental Angle: A Note on Waste
Interestingly, the head cover industry is moving toward zero-waste cutting. The CNC machines nest the patterns digitally to use 98% of the fabric roll. Scraps are ground down and used as stuffing for protective shipping bags or recycled into industrial felt.
Conclusion
The next time you pull the head cover off your driver on the first tee, take a second look at the stitching on the seam or the evenness of the embroidery. You aren’t just looking at a piece of fabric; you are looking at a precise interplay of hydraulic pressure, digital design, foam chemistry, and old-fashioned sewing skill. It takes roughly 23 minutes and 8 human hands to produce a single high-end head cover. It’s a small piece of gear, but its journey from raw material to finished product is a fascinating slice of modern manufacturing.